Getting Started Guide for Aerofiler Admins
This guide helps you to configure your Aerofiler account after you've created it and signed in for the first time. You don't need to follow this guide to get started, but doing so will help you to have a better experience.
1. Initial Settings
When you first sign in, you will be brought to the Dashboard screen. We recommend that the first step you take when accessing your Aerofiler account is to visit the Settings page. You do this by clicking on your name in the top-right corner, and then clicking on Settings.

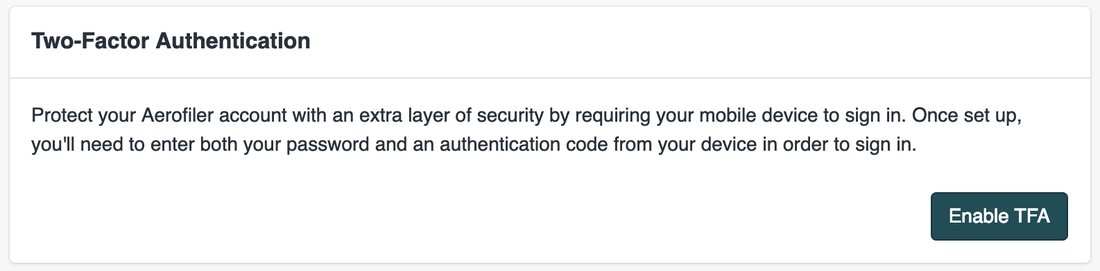
2. Set up Two Factor Authentication
For additional security, we recommend setting up two factor authentication (TFA). Scroll down to the Two-Factor Authentication box and follow the instructions to set up TFA:
3. Set up your Entity List
To help Aerofiler identify what your company name is, and what other legal entities belong to your group of companies (if you have a parent company, subsidiaries, or other affiliated legal entities whose documents you need to manage using Aerofiler), you can supply a list of legal entity names. When Aerofiler attempts to autodetect your legal entity that is party to a contract, it will try to match them against the supplied list of legal entity names. Click Organization at the top of the Settings screen, then click Organization Details in the left sidebar. Scroll down to the Legal Entities box and follow the instructions.
4. Add Custom Fields
You will need to add some Custom Fields to track all the document values you wish to track. We suggest you keep this list as short as you can. While it may be tempting to add a long list of custom fields, remember that this can multiply the amount of data you will need to input for every document you load into Aerofiler.
To add Custom Fields, click Organization at the top of the Settings screen, then click Fields in the left side bar, then scroll down to the Manage Custom Fields table:

Click Add Field to add a new custom field.
For each custom field, you can configure the following settings:
Field Name: This is the full name of the field you want to track.
Column Title: When editing a table full of documents, Field Names are used as column headings. However, some column headings can be lengthy, such that they do not display well in these tables. “Column Title” can be used to replace the Field Name used in column headings with an abbreviated version. For example, using the abbreviation “T4C” instead of “Termination for Convenience” can save valuable screen real estate.
Description: The description field is used for reference purposes only and is only viewable on this screen. The description is intended to explain, in plain English, what the Field Name represents.
Type: Can be one of 5 values:
Boolean (yes/no)
Number
Text
Date
LOV or List of Values (text values)
5. Invite Additional Users
If you want to provision accounts for other team members, you can do so via the Settings screen. Click Organization at the top of the Settings screen, then click Users in the left side bar.
The "Add Organization Users" card allows you to add more users to your instance:

Users can be assigned a Role by clicking on the following button:

The Role of a Users determines the default level of access they have to documents on the system. Levels of access are:
Limited User
Read
Edit (can edit documents, but cannot delete them)
Admin (provides edit rights, plus rights to perform actions such as inviting new users and changing settings on the Organization settings page)
Permissions can also be set for users, offering more fine-grained control over access to specific categories of Document Types. Permissions override Roles, such that if a Permission for a category is more permissive than a user’s Role, they will have the benefit of the Permission level. Conversely, if a Permission for a category is more restrictive than a user’s Role, the more restrictive access level will apply.
We recommend that any user who is involved in managing documents be given Edit permissions, and any user who is only involved in retrieving documents be given Read permissions.
6. Upload Documents
Now you're ready to start loading in documents! There are a few ways to do this:
On the Dashboard page, drag and drop in files or folders you want to upload, where marked.
On the Dashboard page, click the "Browse..." button and select files and folders you want to upload.
Email the documents as attachments to an email sent to the personalized email address shown on your Dashboard.
Last updated