> For the complete documentation index, see [llms.txt](https://adminguidesgitbook.aerofiler.com.au/llms.txt). Markdown versions of documentation pages are available by appending `.md` to page URLs; this page is available as [Markdown](https://adminguidesgitbook.aerofiler.com.au/repository/integrations/external-workflows/direct-integration.md).
# Direct Integration
Direct integrations allow you send data to Aerofiler using a button or link in another application. To use a direct workflow, enable the switch and select a workflow:
Then, select the workflow you wish to connect:
Here, we have selected "Sales Agreement":
Afterwards, select the Aerofiler fields you wish to connect to the other application. Here is an example of selecting "Counterparty", "Start Date", "End Date", and "Contract Value":
You should then be able to copy the link for use in the other application:
```
https://demo.aerofiler.com/approval/partial-contract?counterparty=[COUNTERPARTY]&startDate=[START DATE]&afEndDate=[END DATE]&contractValue=[CONTRACT VALUE]
```
The final step is to replace the values in square brackets (in the above example \[COUNTERPARTY], \[START DATE], \[END DATE] and \[CONTRACT VALUE]) in the other application.
**Salesforce Example**
Using Salesforce an an example, suppose you wish to create a link in an Account called "Generate Contract". Begin by choosing "Account" from the Object Manager:
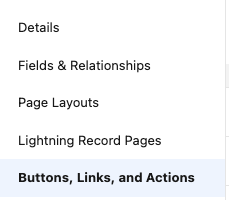
Then, click on "Buttons, Links, and Actions":
Create a new button or link, and name it "Generate Contract":
Then, paste in the link from Aerofiler and highlight the relevant field. In the example below, we are mapping to "Counterparty" in Aerofiler:
You would then replace it with the relevant field in Salesforce. Here, we are mapping "Account Name" to "Counterparty":
This is what the link should look like after replacement:
You can then optionally map any further fields required.
**Adding a Link in Salesforce**
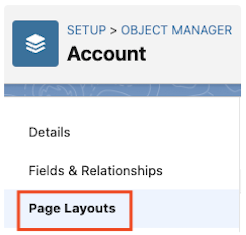
In Object Manager, click on Page Layouts:
Then choose the relevant layout:
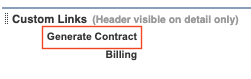
Add a custom link to the Account as follows:
**Generating the Contract from Salesforce**
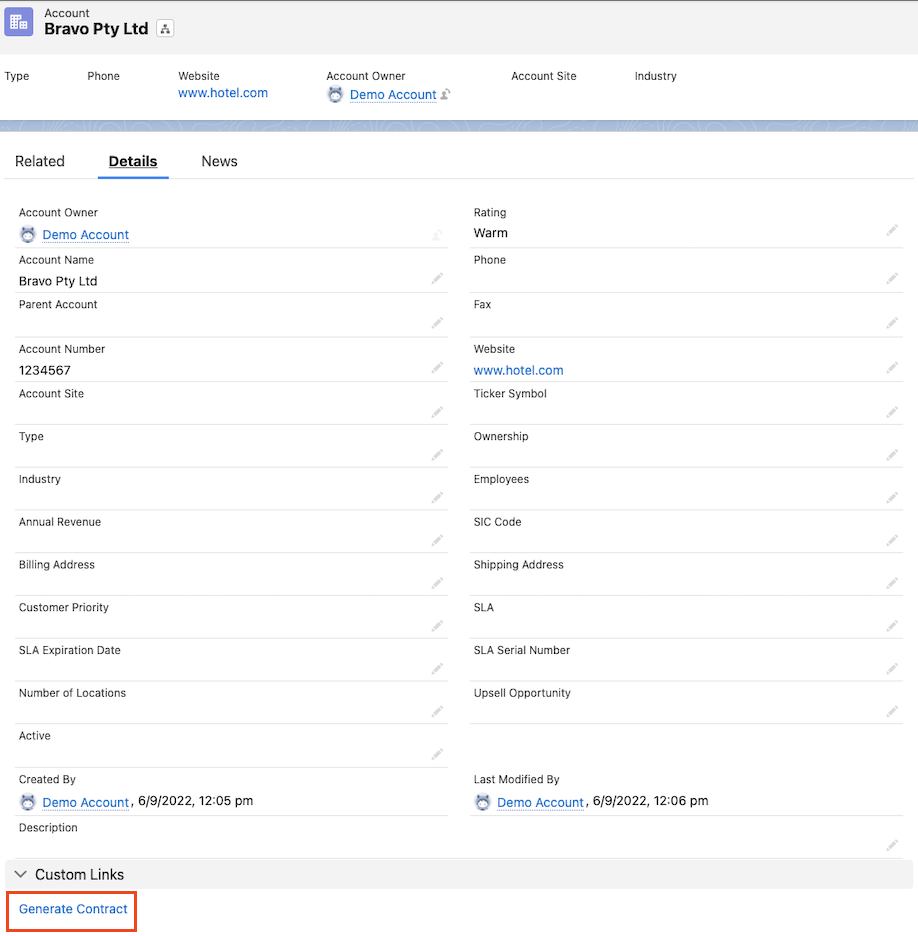
In an account, if you now click on details you will see an option to generate a contract:
This will direct you to Aerofiler, where you can select the applicable contract workflow:
When you select the applicable contract workflow, any mapped fields should be automatically brought into Aerofiler:
More information about workflows is available [here](https://adminguides.aerofiler.com/approvals/workflow-setup).